 Sous Vide Beef (get
PDF)
Sous Vide Beef (get
PDF)
When I cook a cut of beef, I normally use a thermometer to monitor the internal temperature of the meat, and consider it done somewhere between 125 - 130 degrees. I like my beef rare / medium rare. As I am cooking it, the outside is getting seared and the meat immediately below the surface cook faster than the center. I end up with beef that is to my liking in the very center, but progressively more done than I would like elsewhere. This has always been the trick, to cook a perfect steak, and rarely if ever is this accomplished. If meat is being cooked and seared at the same time, I lose complete control over both processes. What If I could separate cooking and searing, so I could perform each process without affecting the other?
I have been reading a lot lately on the Sous Vide method of cooking ever since a video on YouTube sparked my interest. I checked out the pricing and availability of a Sous Vide device, and found them from $60 to $200, depending on the brand and features. For those that aren't familiar, Sous Vide is a method of cooking sealed food at very low temperatures and then finishing the process with a sear. Read up on it if you are interested. My dilemma was that I didn't want to spend the money if the method was different but the result was the same as other cooking methods. My readings convinced me this was worth checking out. Rather than spend the money for a device, I came up with the idea of trying this in a slow cooker. I filled the cooker with water and using a thermometer, found that I could maintain a temperature of 127-129 degrees easily! So, I'm off to attempt my first Sous Vide! I selected a rather large Angus beef london broil as my victim. I find them on sale occasionally at my local grocery store, and usually stock up. I find them delicious no matter what the cooking method is!
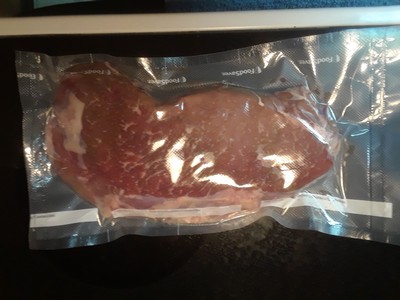
1. My first step was to take the meat out of the package, dry if off thoroughly with paper towels, and reseal with a vac-seal system that I received for Christmas. (love my vac-seal!)
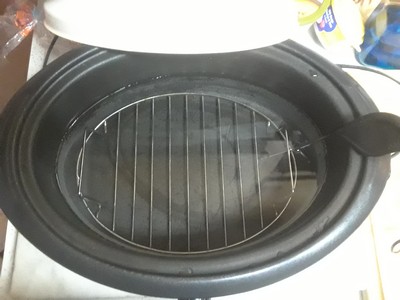
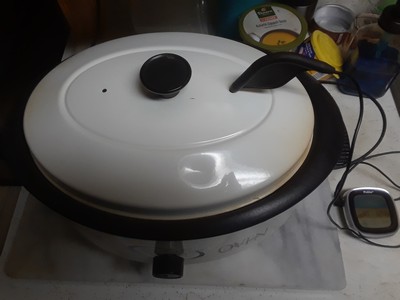
2. I am using a slow cooker (very old model) with a rack. I start with hot tap water since the water will not be in direct contact with the food. This is merely to speed up the process.
3. After I have figured out where to set the temperature to keep the water at a constant 127-129 degrees using an external reading thermometer, I put in the meat and added more water to completely cover the meat. I found charts on the internet that specify temperature and time for various foods. You can also download the Joule app, which is the manufacturer of a high end Sous Vide device. This app also lets you select thickness and doneness desired to produce time and temperature settings for all sorts of food, including chicken, fish, vegetables, and more. My results based on meat 1 1/2" thick and medium rare were around 128° for 90 minutes. My external thermometer can be set to sound an alarm at a specific temperature, so I set the alarm at 130° so I would not go over my temperature, and I checked the reading occasionally.
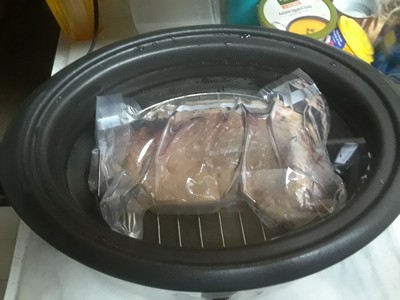
4. This shows my setup while cooking. I was able to put the temperature probe in one of the steam holes of the cooker, and use the external end to keep an eye on the temperature.
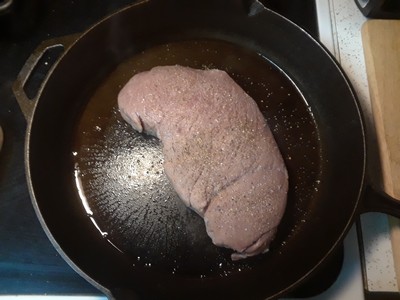
5. After the 90 minutes, I removed the beef from the cooker and freezer wrap. I dried it again thoroughly with paper towels, and placed it in a very hot cast iron pan (my favorite 15" pan!) prepared with a little oil. The pan is hot when a few drops of water dropped in the pan dance around. Sear the first side for around 4 minutes. Do not move the meat around - let it do its thing!
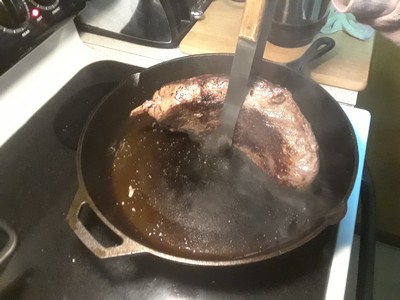
6.Take the extra effort to sear the sides of your beef. It does make a difference. It is recommended that you handle the beef with tongs and not a fork. Be prepared for a little smoke! It's all worth it!
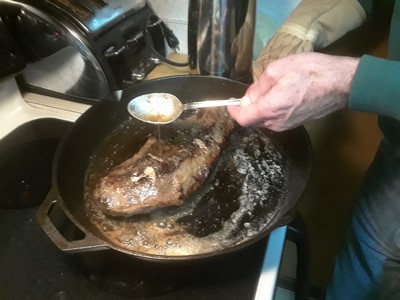
7. After searing the sides, flip the beef over. Lower the heat and add a generous amount of butter to the pan. As the butter melts, lift the pan slightly and spoon the melted butter on top of the beef. Don't be stingy! Sear the second side for another 4 minutes of so.
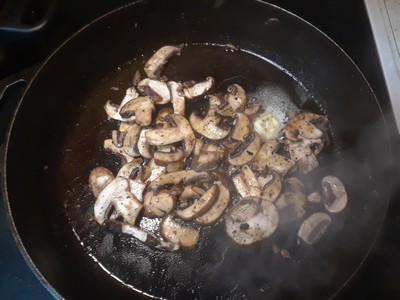
8. After removing the beef to a cutting board to rest for 5 minutes of so, I tossed in some sliced portabella mushrooms into the hot buttery beefy pan and cooked them up.
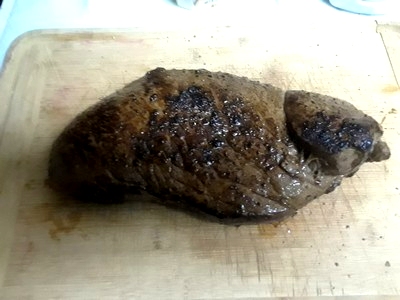
9. Here is my london broil on the board, resting. This picture doesn't do it justice, but the next one will!
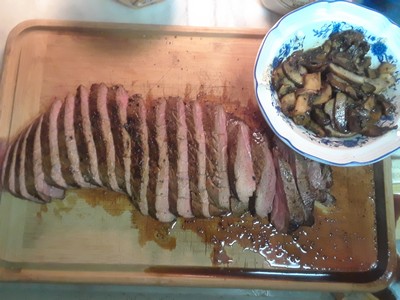
10. I've now sliced the beef up, and is shown with the mushrooms. When slicing beef, I place a saucer under the corner of the cutting board to catch all of the juices, and in this case, added them to the mushrooms.
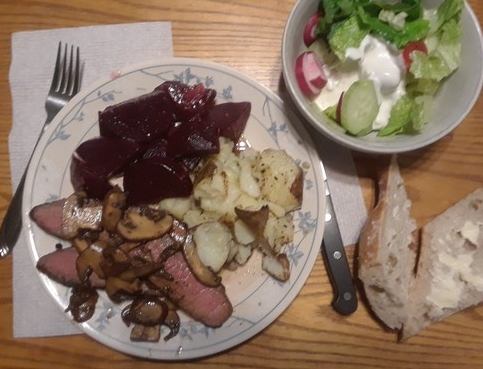
11. Here is my dinner plate for that night, which includes smashed potatoes (recipe is on this site), fresh beets, a wonderful baguette, and a fresh salad. What a meal!
I have concluded that not only is Sous Vide the ideal way to cook beef, it is easily doable with my vac-seal device, ancient slow cooker, and external thermometer. Let's not forget my 15" cast iron frying pan either! I will definitely do this again, perhaps using a slightly rarer setting, although this one is going to be tough to beat. The meat was tender, juicy, and cooked to perfection, as you can see by the uniformity of the doneness of the meat and the perfection due to the searing.
Today (next day) we are picking on the beef cold, and it tastes like the best deli roast beef you have ever had!


